A Collection of Christmas Crafts!

Welcome to my blog!

Here is a list of different crafts my kids and I have done during the winter holidays. Some are just for fun, and some make great homemade gifts!

Plus I snuck in a couple of edible ones…

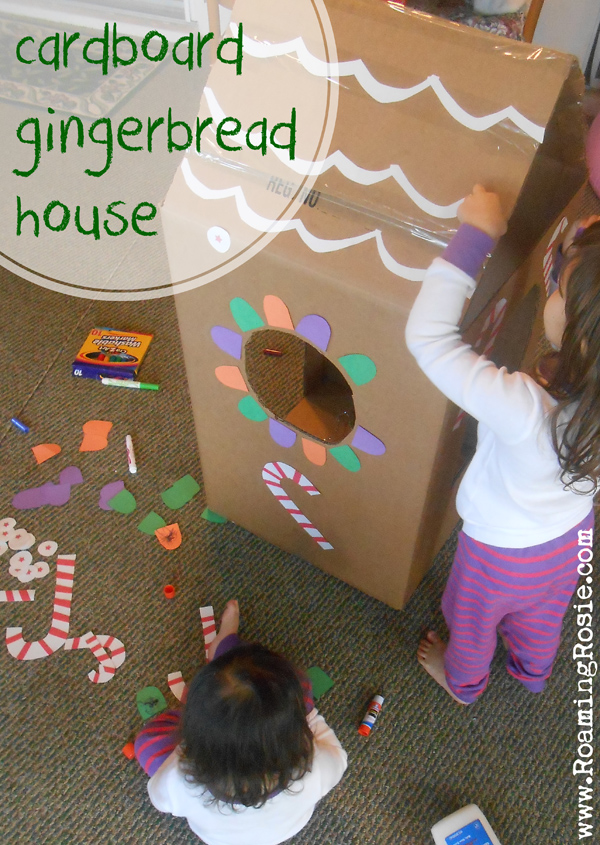
This Life-sized Cardboard Gingerbread House will always be one of my favorites!

This Felt Fashion Christmas Tree was surprising easy to make and had such a big impact!

These Birdseed Christmas Ornaments are bird-friendly and look so lovely in the yard.

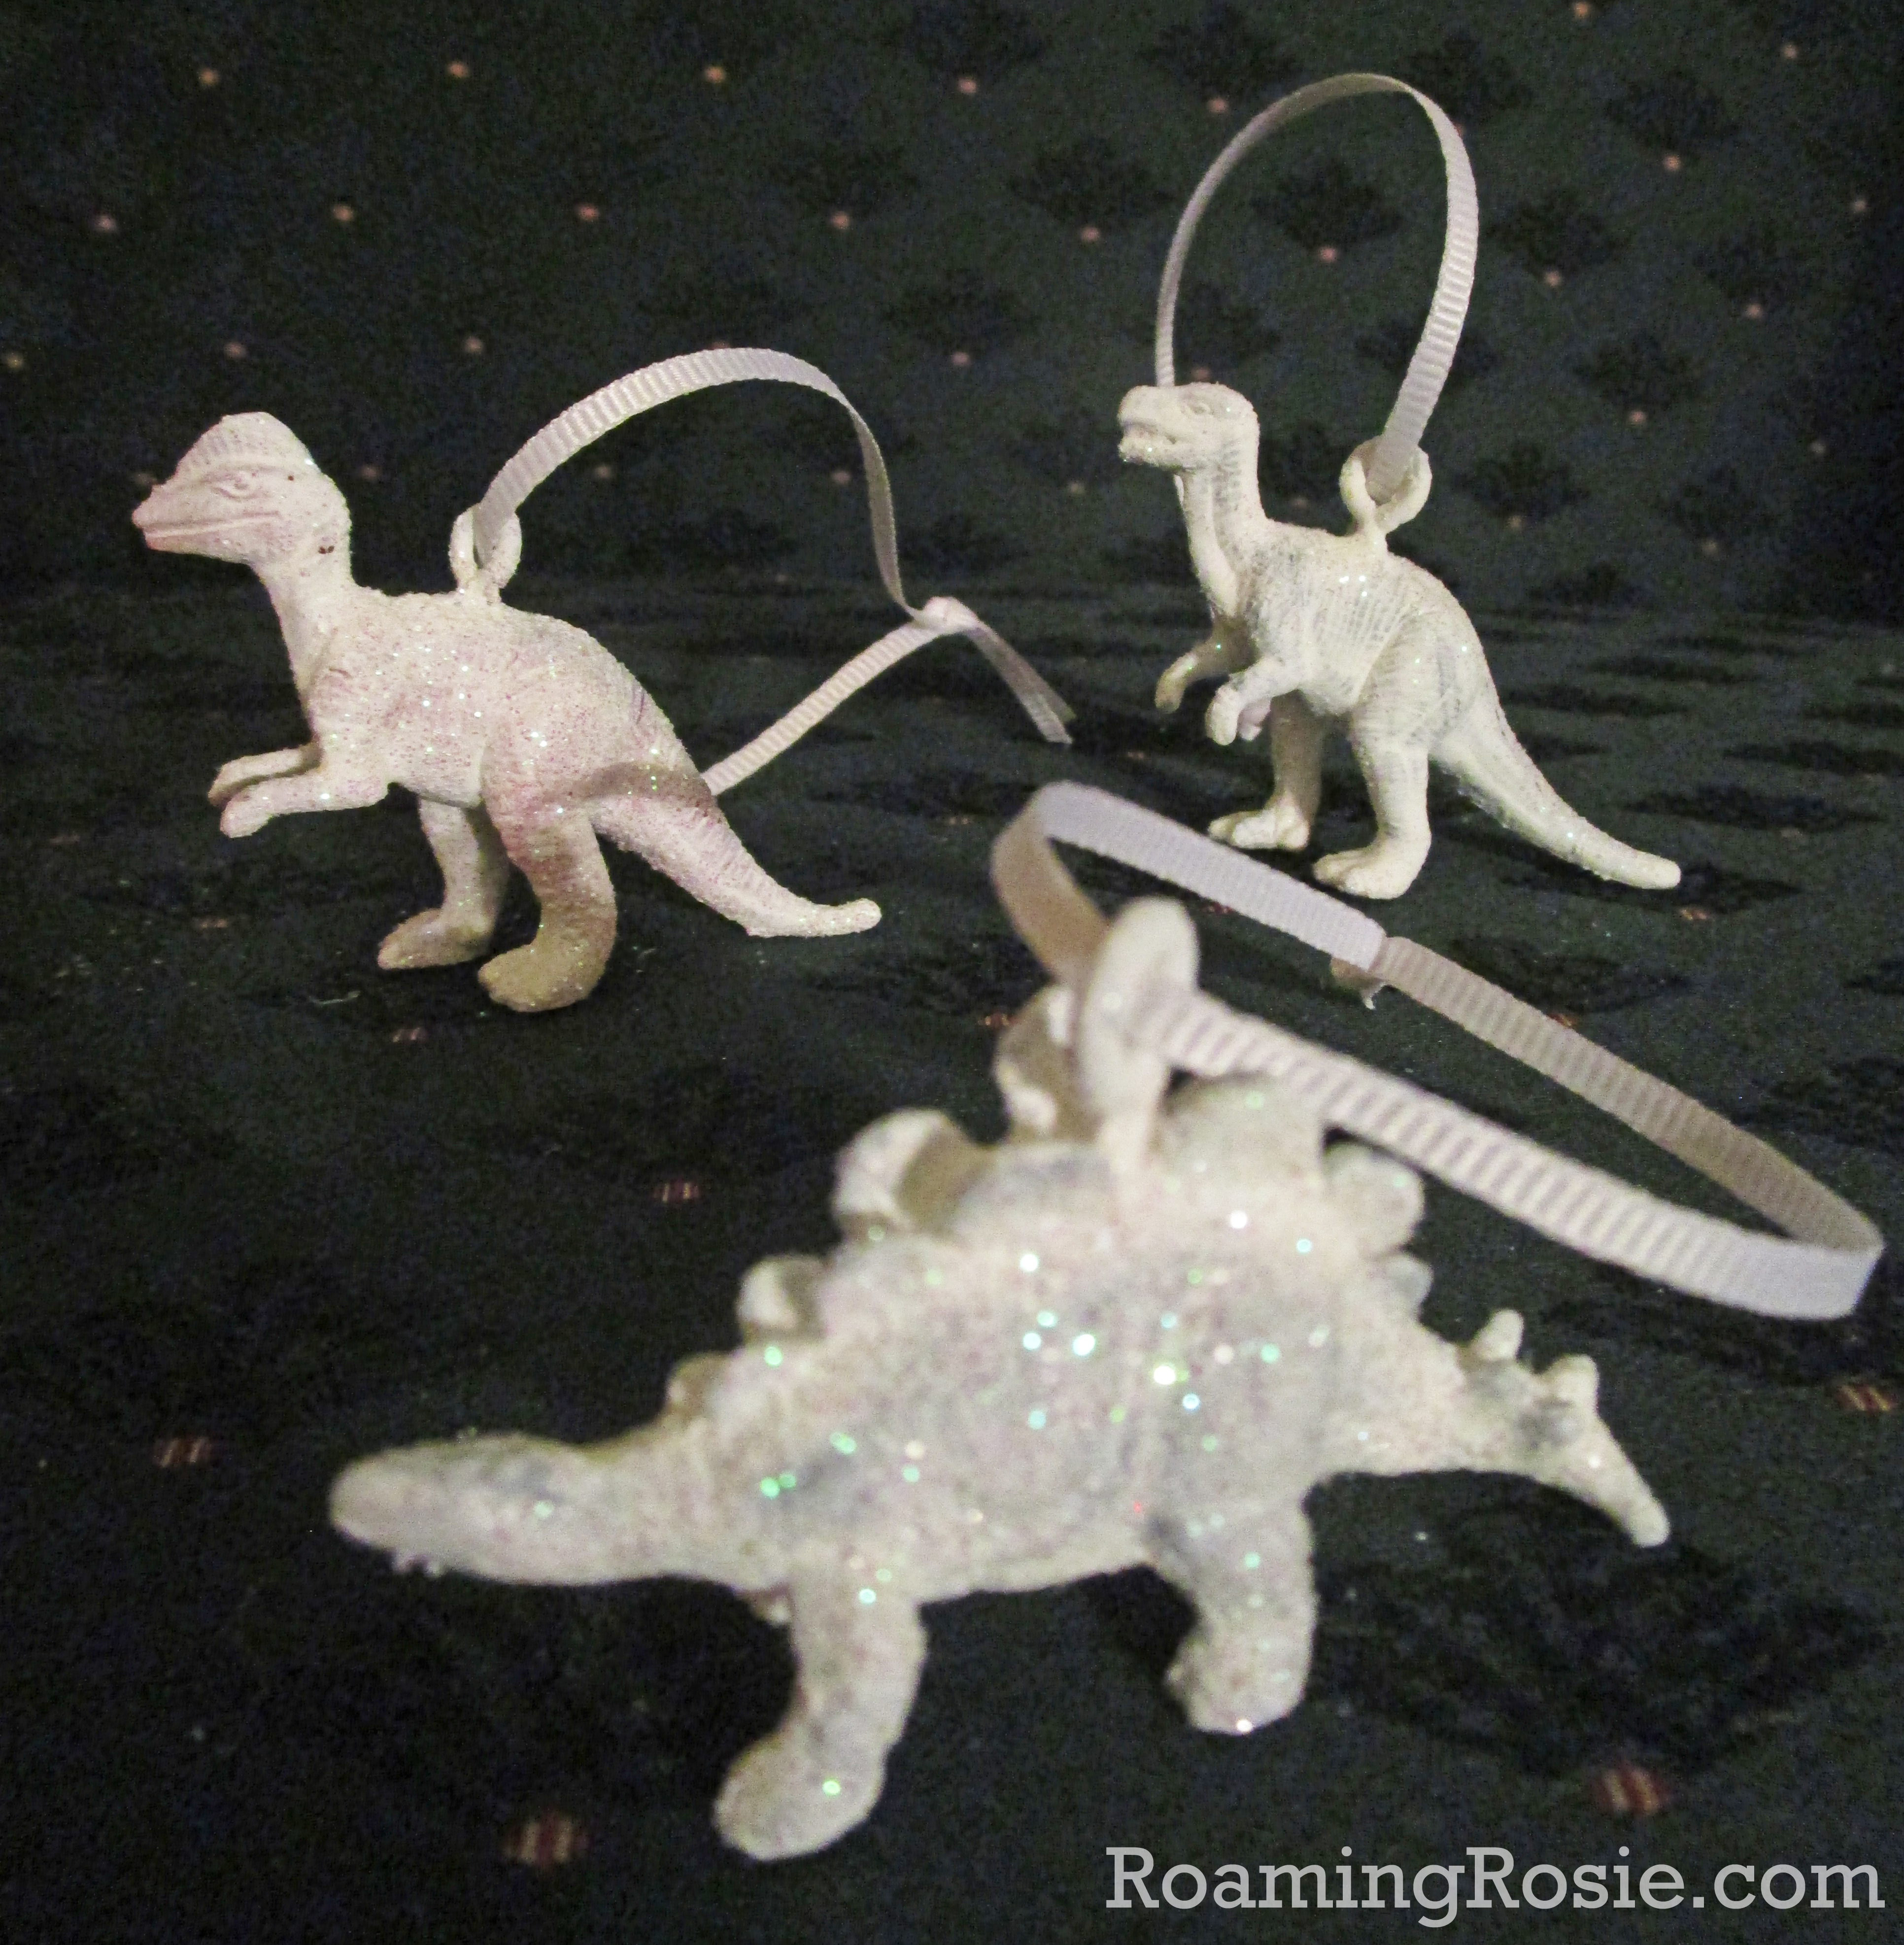
These Glitter Dinosaur Ornaments are flexible (pick any animal you like!) and add pizazz to the tree.

We make a new batch of these Cinnamon Christmas Ornaments every few years. They last quite a while, but I love the way the house smells when they’re baking! Plus, we try out new shapes each time.

These Paper Cone Christmas Trees are perfect for little hands to keep busy with something you can proudly display!

You could also make snowflakes instead of Crystal Snowmen – or sparkly circular ornaments.

For littles who love paint, these Toilet Paper Roll Christmas Ornaments are about the easiest craft to set up. Hand them markers for

Strictly speaking, this is something that I do for my kids as a surprise, but if you prefer, you could involve your littles in making their own Snowy Reindeer Feet.

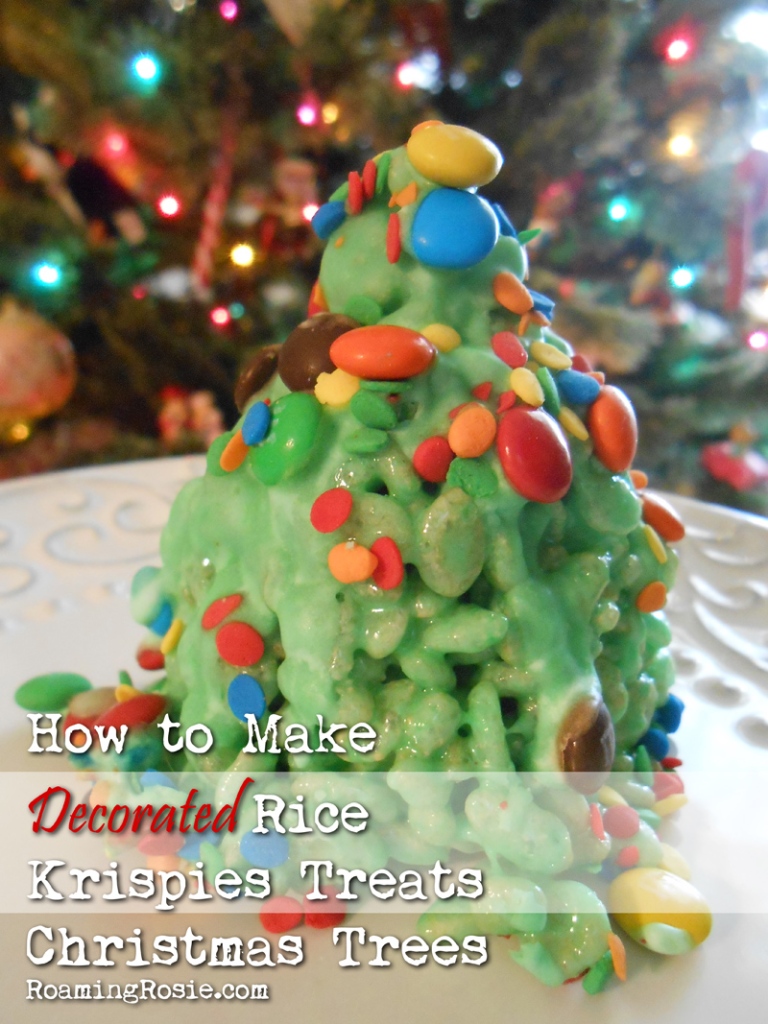
The great thing about Rice Krispies treats are that they are so malleable. Which makes them perfect for these Decorated Rice Kirspies Treats Christmas Trees!

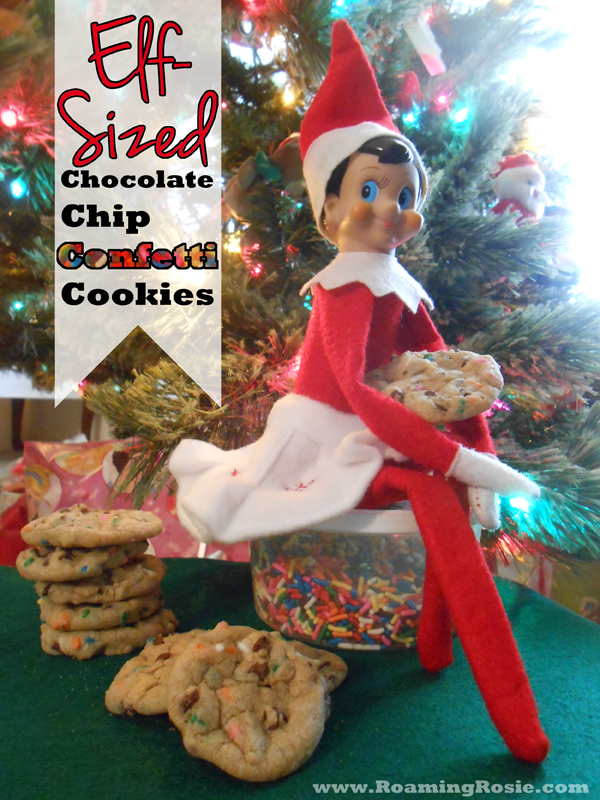
Add some sparkle to your winter baking with these Elf-Sized Chocolate Chip Confetti Cookies!

I hope you’ve enjoyed this list! Let me know in the comments if you’ve tried any of them – or share with me on my Facebook page.

Happy crafting!

Glitter Dinosaur Ornaments

Glitter Dinosaur Ornaments 1

This has always been one of my favorite Christmas crafts.

I mean, who doesn’t love dinosaurs covered in glitter??

Seriously, though, hanging these Glitter Dinosaur Ornaments on my tree each year is always a joy!

Glitter Dinosaur Ornaments

Of course, I didn’t realize until afterwards that most of my photos were blurry, but you get the idea.

Essentially I picked up a tube of dinosaurs, my kids painted them, and we dumped glitter on top.

It was so much fun to do with them.

Mostly here, you’ll see the photos of the ones we painted all white – that was my preference for ultimate sparkle. But my kids did decide to paint a couple blue as well. You can really do whatever suits you.

Glitter Dinosaur Ornaments 3

Before you decorate them, you’ll want to attach tiny hooks.

I used eye hooks like these. The screw right into the toys with just a little elbow grease.

Then paint them with acrylic paint and sprinkle on glitter before the paint dries.

Last, attach any type of thin ribbon or string and you’re done!

Glitter Dinosaur Ornaments 4

I even decorated the lid of the tube.

It’s like a T-rex bust. Pretty fancy, if you ask me.

Glitter Dinosaur Ornaments

Let me know if you try it out! Or even if you grab a tube of unicorns or something else instead.

Happy Crafting :)

Roaming Rosie Signature

Haunted Castle Halloween Cake Recipe

Happy Halloween!

Today I’m sharing the Haunted Castle Halloween Cake we made this year.

The mold is from the princess party I threw the girls years ago. It’s the Nordic Ware Pro Cast Castle Bundt Pan. I’d kind of forgotten about it and we recently discovered it in the back of a cabinet.

Well, it’s October, right? So now it’s officially no longer a castle cake pan, but a HAUNTED castle cake pan!

But how should we go about it?

I had a hard time covering it with icing last time I used it, and besides, I wanted it spooky this time.

So I did some research and put together a pourable icing with a fudge-like consistency. AND I used Hershey’s Special Dark Cocoa Powder. The dark chocolate adds a great flavor, plus it makes it a darker color – almost black.

For the cake itself, I went with chocolate.

A regular box mix, ’cause hey – I don’t have time to make everything from scratch, amiright?

Just make sure you spray down the cake pan with a non-stick spray first.

Preferably one with flour already in it, like Baker’s Joy.

Following the directions on the box, we wound up with just enough from one box to almost fill the mold. Two boxes would have been way too much.

You can see that the cake batter rose plenty high enough.

True, we didn’t get the detail around the bottom, like that ramp up to the gate, but it was honestly not noticeable once the cake was turned upright.

After cooling in the pan for about 5 minutes, if you sprayed it well, it should pop out with minimal effort.

A bit of tapping and poof! Cake.

Sure, a few turrets suffered some damage, but overall it looks pretty darned nice to me.

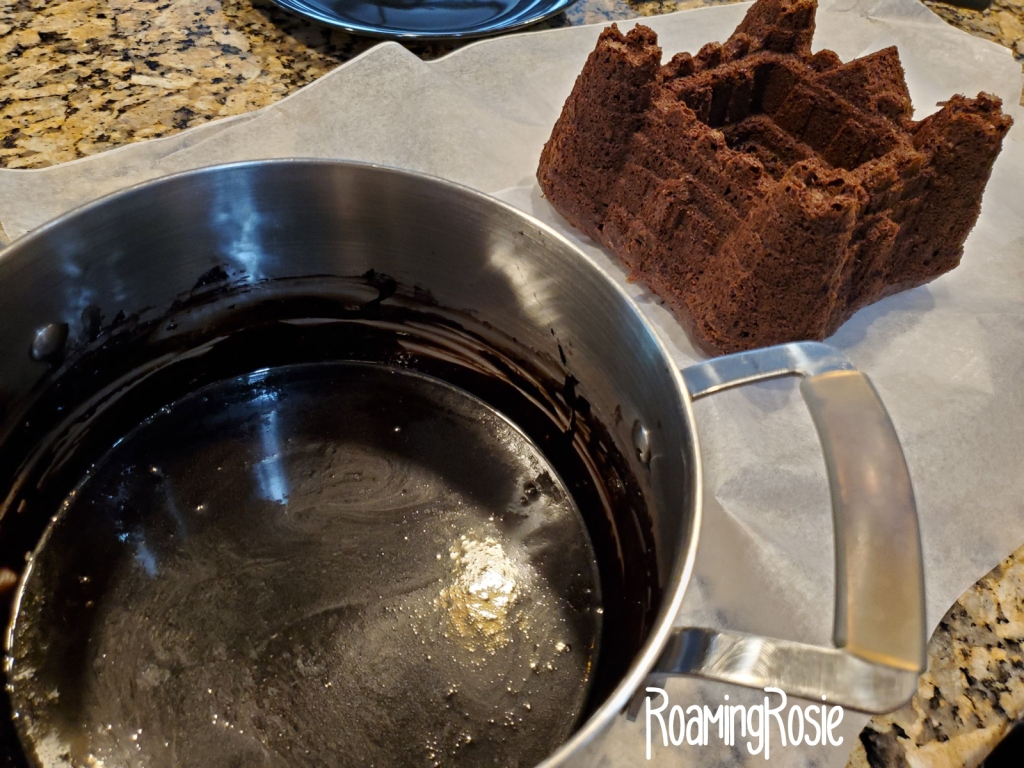
For the icing, we went with a pourable fudge sauce.

And like I mentioned above, the dark chocolate makes the most amazingly spooky color!

And my pot is pretty big. I made extra so we would have it, but there was a LOT left over. You can just follow the recipe and you’ll have plenty.

Use a small measuring cup or a spoon to drizzle the icing slowly over your dessert, stirring the icing from time to time. It does harden fairly quickly.

As you go, be sure to scoop the icing out of the center. It will pool there.

It’s best to drizzle it over waxed paper. Then, once the cake is fully coated, you can move it with two spatulas onto your serving platter.

Our final step was decorating!

We drew some ghosts by hand with melted white candy melts and added miniature chocolate chips for eyes and mouths.

Those only take a few minutes to harden, then you can add them to the cake by squeezing some of the melted chocolate onto the cake to act as glue.

We also added some candy corn and Mellocreme pumpkins.

Here are the instructions for making the icing.

Make sure your cake is fully cooled before you try and decorate it.

Chocolate Fudge Pourable Icing

Ingredients:

1/4 cup butter

1/3 cup dark unsweetened cocoa powder

2 teaspoons vanilla extract

2 tablespoons butter

1/2 cup whole milk

3-1/2 cup powdered sugar

Directions:

Melt butter in pot on stove top. 

Once melted, whisk in cocoa, vanilla, and milk. 

Add in a small scoop of powdered sugar at a time, until you’ve added it all.  Be sure to whisk while adding the sugar.

Remove pot from heat.  Keep whisking until smooth. 

Slowly pour icing over cake or other dessert with a spoon or small measuring cup. 

You can download the PDF of the recipe here:

(The arrows on the top right will offer you more options if you don’t see the “print” button. There is also a “download” button beneath the document.)

Store the cake covered. It will taste best if eaten within a few days. The extra icing will keep in the refrigerator for a couple weeks.

If you make a Haunted Castle cake of your own, please share with me on my Facebook page!

Happy Baking!

Picture Books for Kids with BIG (Angry) Feelings {Roaming Rosie Book Reviews}

Kids may be little, but they have very big emotions.

Sometimes those emotions get SO big they explode into anger. Sometimes they just sizzle at grumpiness. Either way, it helps if they have the words to discuss their feelings, and actionable suggestions for helping them find their way out of a bad mood.

These are some of my favorite picture books on the subject. I love picture books for these kinds of discussions, because they give kids a great visual of the emotions they may be feeling.

Plus, these books are also just great stories – no need to read them ONLY when feeling upset. Sure, they can help kids work through big emotions, but they are also entertaining reads.

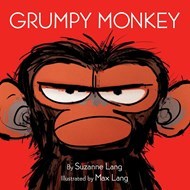
Grumpy Monkey by Suzanne Lang and Max Lang; Random House, 2018

Grumpy Monkey is such a favorite – a classic from the time it was released. This charming story follows Jim Panzee who wakes up in a grumpy mood. He insists that he’s not grumpy but the other animals can see that he clearly is quite grumpy. They offer all kinds of suggestions to cheer him up – rolling like zebras or stomping like elephants – but Jim doesn’t want to do any of these things. In the end, Jim realizes he is indeed grumpy, and he also finds the best solution: quiet acceptance from his friend Norman. We all have different ways of dealing with our moods, after all, and this is one of my favorite stories for discussing emotions with young ones.

Get Grumpy Monkey by Suzanne Lang and Max Lang at your local library, or at AMAZON or INDIEBOUND.

The Bad Mood and the Stick by Lemony Snicket and Matthew Forsythe; Little, Brown and Company, 2017

I like to describe The Bad Mood and the Stick as existential. Not sure that’s the exact correct term, but what we’re doing here is following around a stick and a bad mood, the latter of which is portrayed as a cloud. The stick seems to keep finding itself moving from place to place while the bad mood is transferred to one person after another until it circles the whole world. This is one of those great stories that opens up conversations about what emotions are without being didactic at all. There is no lesson here – no heavy-handed tale of morality. It’s just a fun story that happens to be about a stick, and a bad mood.

Get The Bad Mood and the Stick by Lemony Snicket and Matthew Forsythe at your local library, or at AMAZON or INDIEBOUND.

The Unbudgeable Curmudgeon by Matthew Burgess and Fiona Woodcock; Alfred A. Knopf, 2019

The Unbudgeable Curmudgeon is kind of like a How-To book. It asks, “how do you budge an unbudgeable curmudgeon?” and gives some solutions. Don’t worry – it also defines “curmudgeon” on the first page, so you won’t have to come up with your own explanation for what will probably be a new vocabulary word for your kid. This story is about two siblings who are grumpy in turns. It’s fun to see the kids transform into curmudgeons and back again. It gives some workable examples for how to feel better, like singing songs, so it offers a great way to involve the kiddos by asking things like, “how would you budge the curmudgeon?”

Get The Unbudgeable Curmudgeon by Matthew Burgess and Fiona Woodcock at your local library, or at AMAZON or INDIEBOUND.

Allie All Along by Sarah Lynne Reul; ‎ Union Square Kids, 2018

Allie All Along has similarieties to The Unbudgeable Curmudgeon, but with a more gradual transformation. Here, Allie is the sister of the main character and Allie becomes ANGRY. Her anger turns her into a giant red monster. As her brother helps her calm down, she gets smaller and goes through a rainbow of colors – warm to cool – until she’s back to herself again.

Get Allie All Along by Sarah Lynne Reul at your local library, or at AMAZON or INDIEBOUND.

Grumpy Bird by Jeremy Tankard; Scholastic Press 2016

Grumpy Bird is another classic. Grumpy Bird is grumpy and stomps off through the forest. All the animals, one by one, want to know what he’s up to. He grumpily informs them, and to his surprise, they want to join in! Once Bird realizes he’s being copied, he tries out some new moves. Suddenly he realizes he’s having fun, and forgets all about being grumpy.

Get Grumpy Bird by Jeremy Tankard at your local library, or at AMAZON or INDIEBOUND.

Feeling Angry (Everyday Feelings) by Katie Douglass and Mike Gordon; Free Spirit Publishing, 2017

One last book I want to mention is Feeling Angry. This is a book in a series of books about emotions and it leans more towards non-fiction than the other stories that I’ve listed. In fact, it’s probably shelved in the non-fiction section of your library. This is the type of book that isn’t meant to be a bedtime story or the sort you read over and over again for entertainment. But it’s a well-written, straightforward approach to discussing feeling angry and the different ways in which you might defuse that anger. It does have an underlying story in which the kid gives advice to everyone around him – until suddenly he needs some reminders himself.

Get Feeling Angry by Katie Douglass and Mike Gordon at your local library, or at AMAZON or INDIEBOUND.

I’d love to hear about your favorite books on discussing big emotions with kids – please share in the comments!

Happy Reading!

How to Watch a Sunset {With Your Kids}

How to Watch a Sunset With Your Kids:  7 Step-by-Step Instructions

I originally wrote this essay a few years ago and never published it.  At the time I felt like maybe I was being a bit melodramatic.

My kids are older now (the one in the pic is twelve and in middle school!!) but I now feel that this kind of thing is timeless.  I still cherish these kinds of quiet nature moments that are strikingly beautiful, and in this loud world, I sometimes still need the reminder to center myself in the moment.

Enjoy :)

How to Watch a Sunset with Your Kids

1.  Find a Spot With a Nice View

A sprawling forested mountainside or the sparkling shore of a vast ocean would be ideal, but a small yard decorated with those, ahem, artistically placed brown dirt patches and a rusting grill {that you’ve been promising yourself for over a year now that you would clean} will suffice.

Work with what you’ve got.

2.  Relax

Sit down.  Lean on a railing.  Lay out on a towel.  Chill.

This one actually may take some preparation.  For example, if you don’t want to find yourself trying to run through the house with a child in tow after nearly choking on your soda when you heard the shriek of, “Mommy, I have to go potty RIGHT NOW!” then be sure to do a potty break {or diaper check} before you settle in.

3.  Turn Off Your Cell Phone

Or at least turn off the ringer.  If you’re like me you’ll probably want to snap a few photos with your phone, but don’t take any calls.  Don’t surf the web.  Wordle can wait.

Trust me, Facebook doesn’t need your attention.  In fact, it probably won’t even miss you.

4.  Take Off Your Shoes

It helps with the relaxing.  It removes literal and figurative pressures.

And your kids probably won’t argue, if they still have their shoes on.  My kids, for example, are constantly trying to take their shoes off.  At church, at Target, at the library … everywhere except our house, when they suddenly want to model every pair they own.

But running around outdoors without your shoes on helps you to live in the experience.

5.  Laugh

This one’s important.

6.  Let Them Get Dirty

Let them crawl around in the sand, the surf, the dirt.  Let them run though the grass in their bare feet and dance in your neatly raked piles of leaves.  Let them explore.

True, that grass stain may never come out of that shirt, but from here on out it will now function as a happy reminder of this magical moment.  If you let it.

7.  Never Take Your Eyes Off Them

As the pastels soften the horizon and transform the world around you, never take your eyes off of your children.  Because the sun will set tomorrow, just as it always has, and just as it always will.  But the sunset of your child’s youth will happen while you blink, and their innocence will disappear overnight.  So never take your eyes off of what is most precious in this world; more precious than jewels.

Watch the sunset in the crimson and coral glint on the hair of your child.  Watch the sunset in your child’s shifting shadow as it dances across the sand or the dirt or the grass at their feet.

Roaming Rosie Signature

Mystery Map & Backyard Treasure Hunt

Mystery Map Treasure Hunt 1

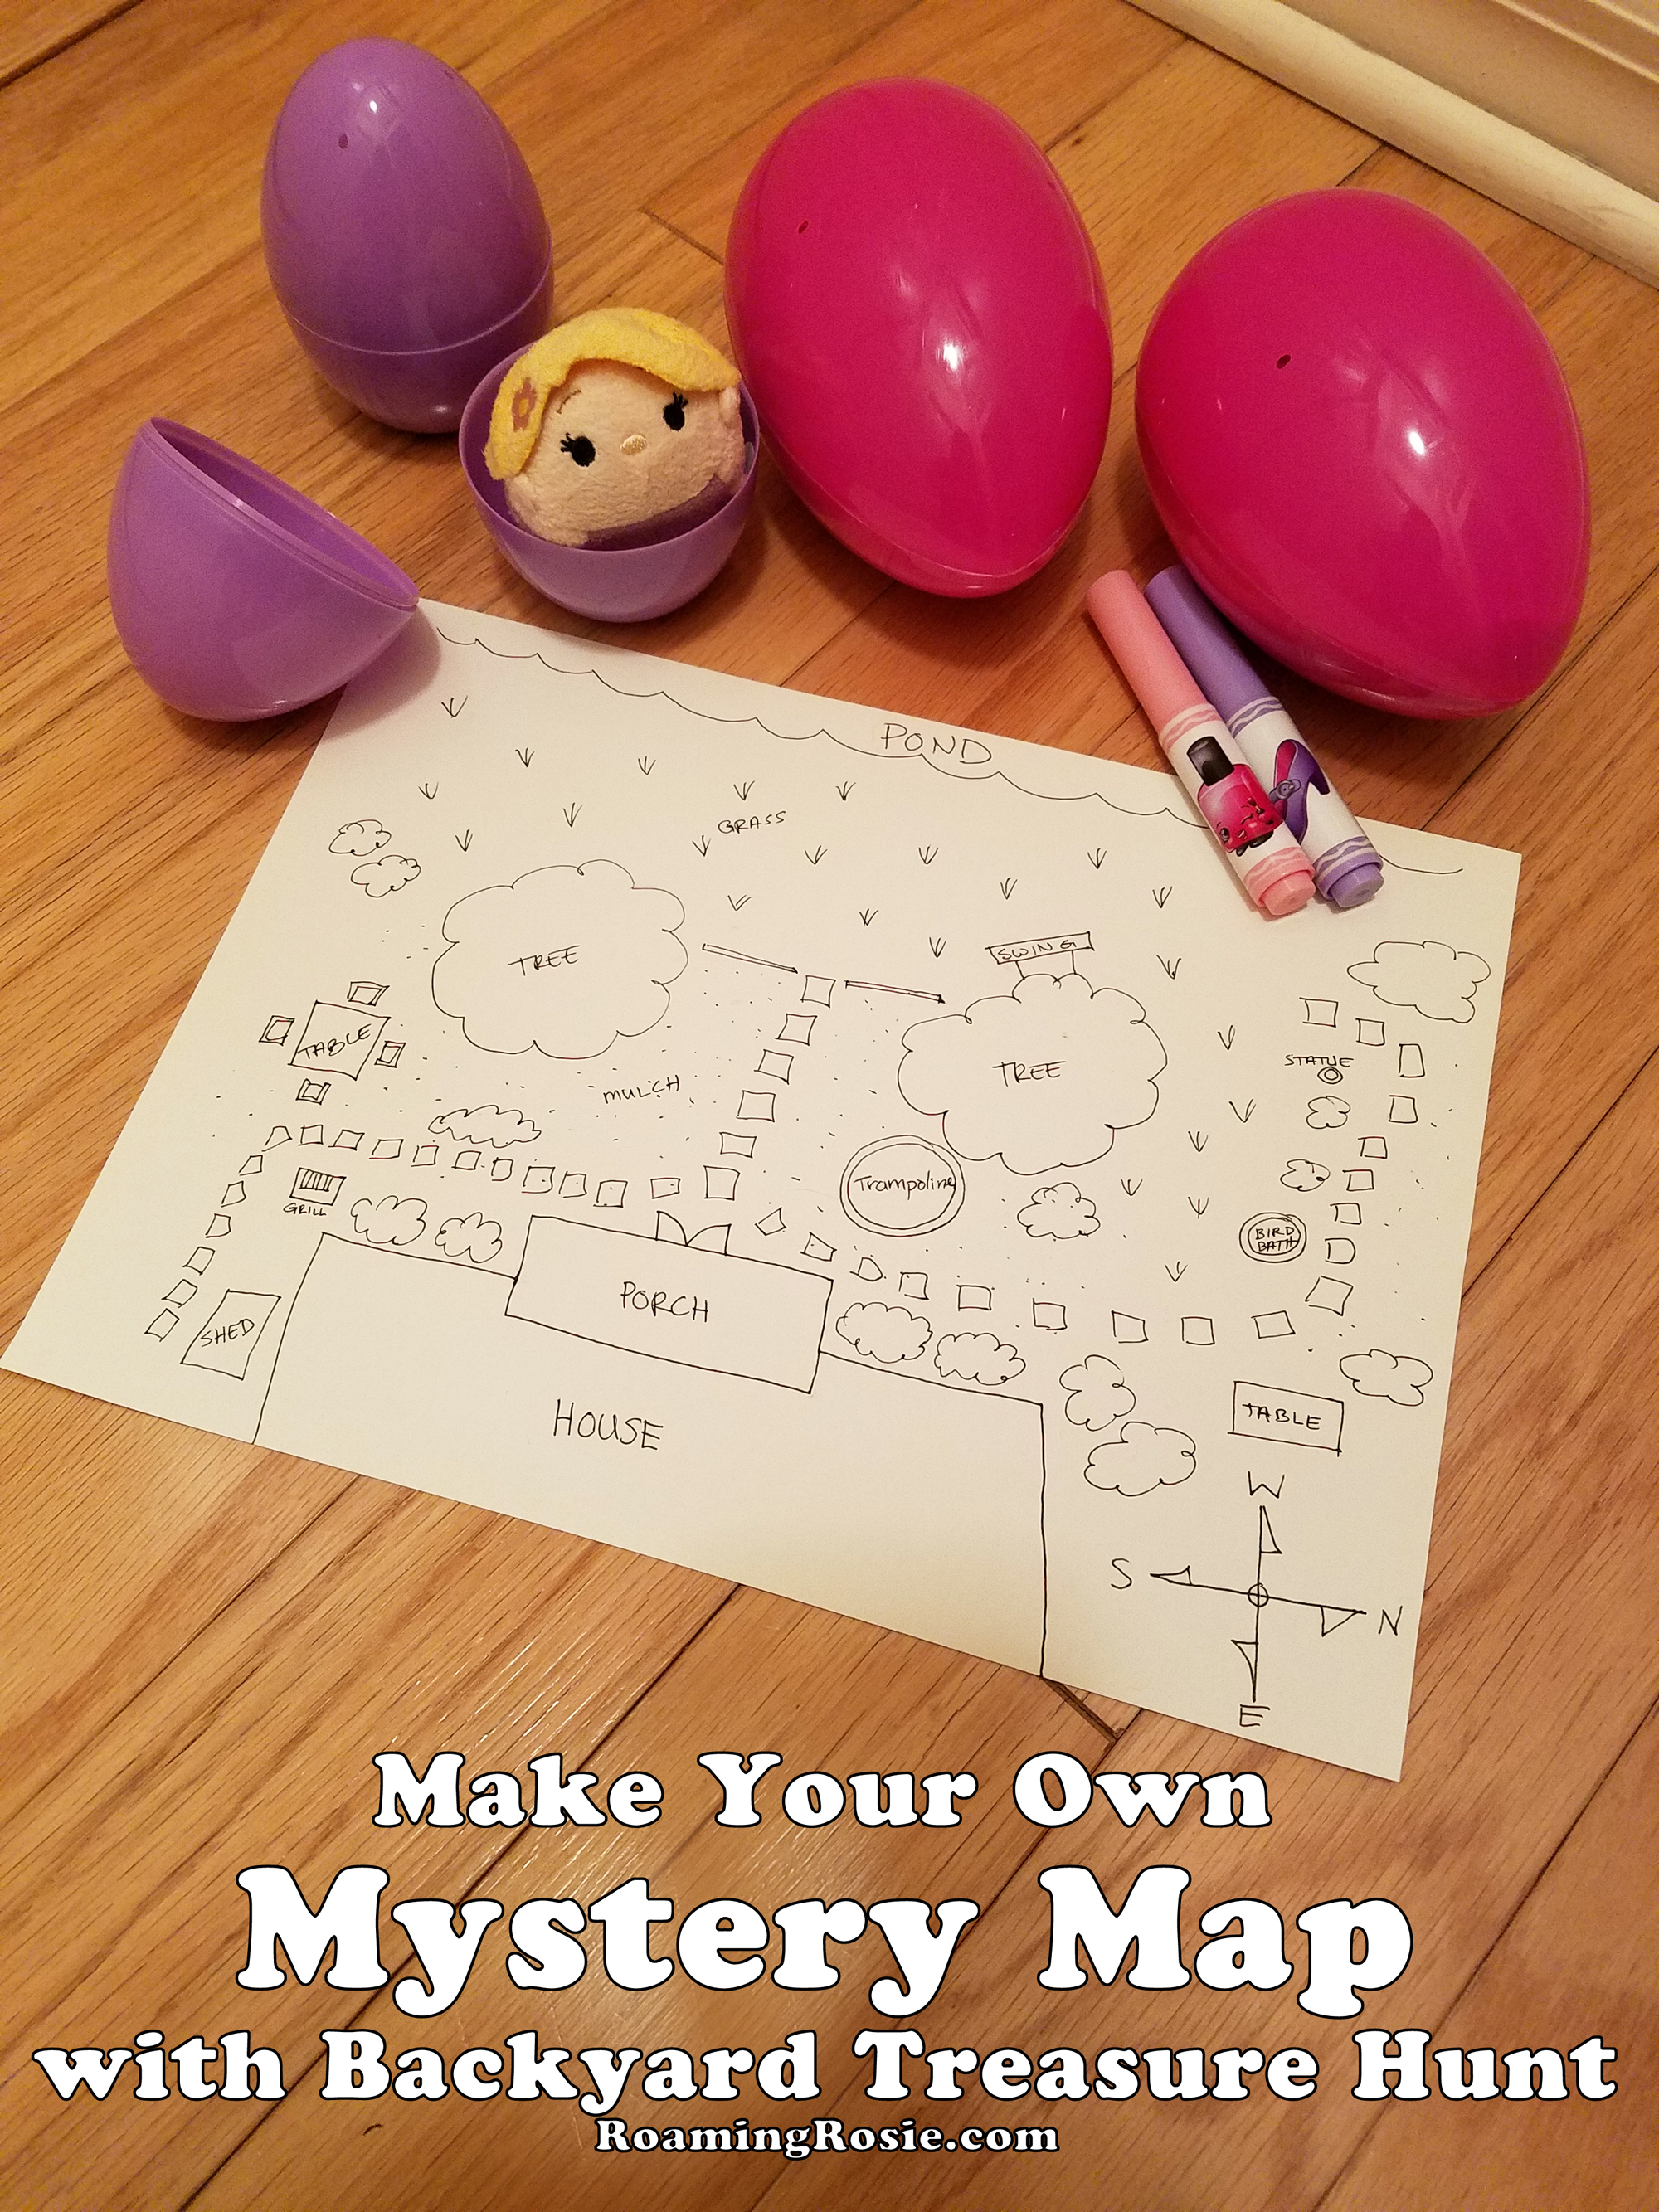
Our Mystery Map and Backyard Treasure Hunt was so much fun!

This is a great outdoor activity, and while it’s still quite hot outside as I write this, fall is coming. (Please hurry!!)

When I did this with my girls, I actually drew the map. I love maps, and I love floor plans, so for me it was astounding fun to create a layout of the backyard. Another option, however, is letting your kids make the map. Or make it a collaborate effort. It really depend on the ages of your children.

My main goal here, however, was the treasure hunt, as opposed to the map making. The latter, of course, is a great activity too, but instead of making the map, I had my kids navigate the one I made. With the goal of finding treasure!

I got some new small toys (in this case, Tsum Tsums mini plush) and hid them inside some large-sized Easter eggs. Then I hid the eggs outside, handed the kids the map, and let them loose.

Mystery Map Treasure Hunt 2

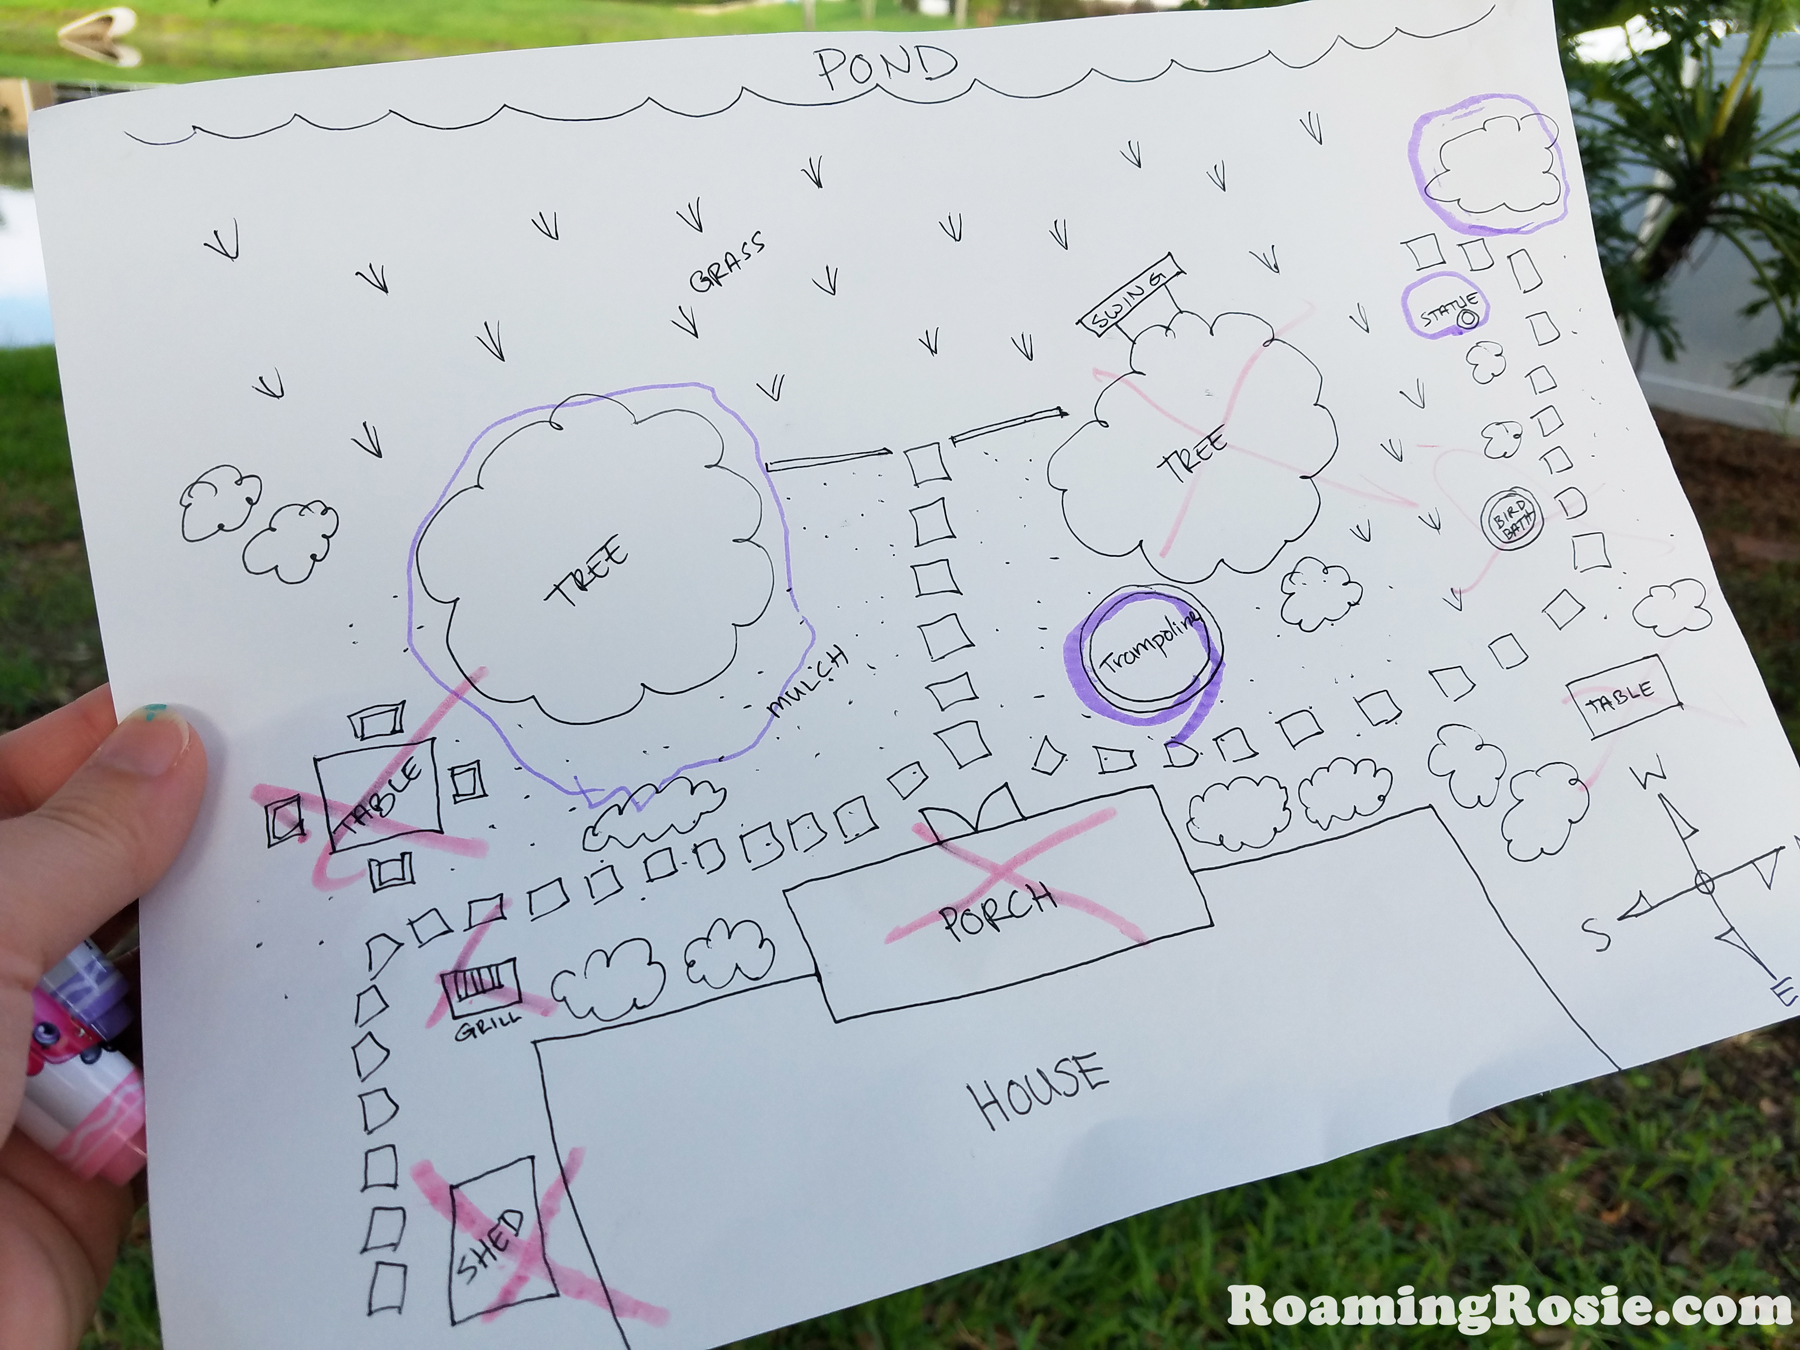
The instructions I had given them were to search the yard and make marks on the map to assist in the search.

Essentially, their mission was to mark off on the map each time they found an egg, and to cross off sections they searched which did not contain eggs.

Mystery Map Treasure Hunt 3

As you can see below, I included everything from a bird bath to the tree swing on my map, but it doesn’t have to be that detailed. Unless you’re obsessive like me – then go all out!

My kids decided to use the two colors of markers for different purposes. They chose purple to circle the places where they found eggs, and pink to cross off the places they looked that were egg-less. I’d let them know there were four eggs, so they also knew when to stop.

Then they got to open their treasure eggs. So the hunt was fun, the treasure was exciting, and I was happy because they were outside in the fresh air. Wins all around.

Mystery Map Treasure Hunt 4

No backyard? No worries! This can also be done inside (drawing couches and tables instead of trees), or you can head to your local park. If you’re planning a treasure hunt in a public place, however, you may want to hide vouchers of a sort that they can trade in for eggs, so that your kid can still find something but you don’t have to worry about someone else walking off with the treasure.

And, of course, y’all know I’m gonna talk about books if I get the change, right??

This was a project we did awhile ago (what can I say – it’s been a weird few years *shrugs*), but I got excited when I found a recent picture book that goes along with nicely with this type of activity. 

Publisher: Anne Schwartz Books (2022)

The Boy Who Loved Maps by Kari Allen and G. Brian Karas is such a fun exploration of map making!  It follows two children through the process of making a map of their neighborhood – and also exploring different places around the neighborhood – so if you’re already making a map of your backyard like we did here, this book makes a great visual for kids. 

It has some educational backmatter to help you describe map making to kids, and it can give them ideas for drawing their own. Plus, it’s also an adorable story! The language used to describe their environment is nothing short of magical. I definitely recommend reading it.

You can get it at your local library or here:

The Boy Who Loved Maps on Amazon

The Boy Who Loved Maps on IndieBound

I’d love to hear about any similar activities that your family has done!

Happy Treasure Hunting!

Roaming Rosie Signature

Halloween Spider’s Eggs Brownies

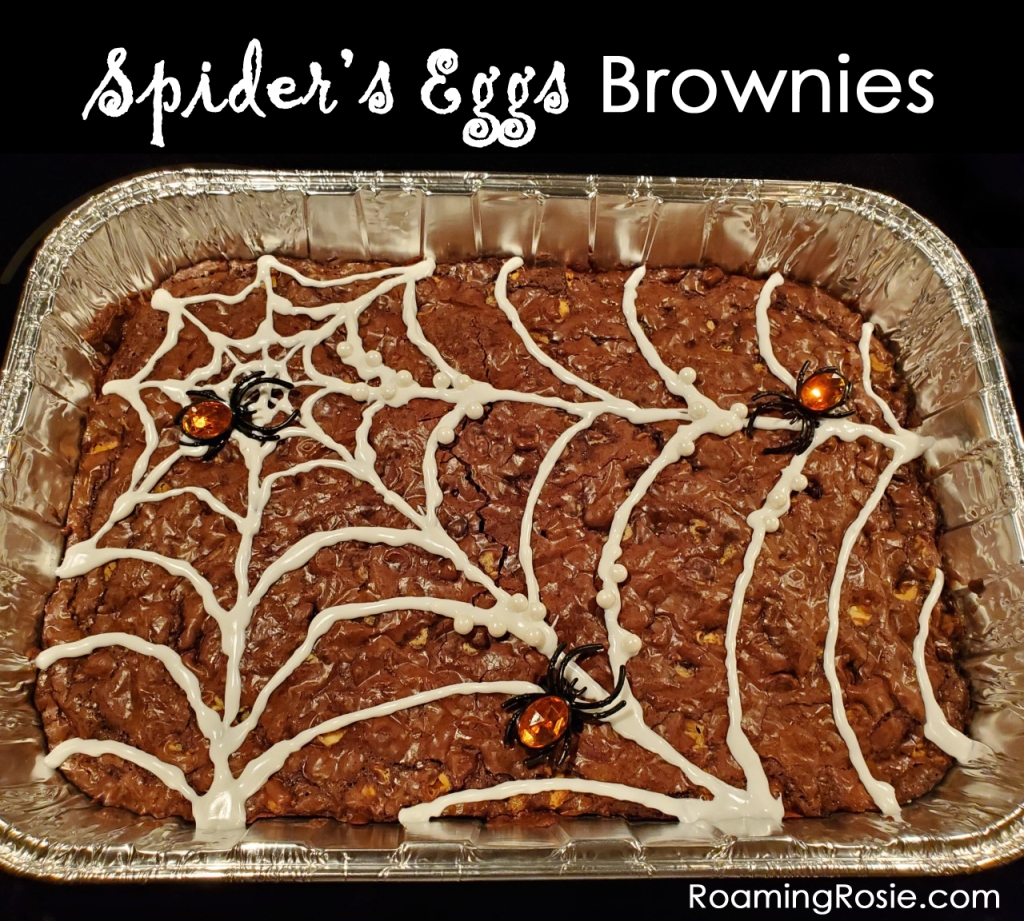
Roaming Rosie Halloween Spiders Eggs Brownies

This is the type of Halloween dessert I love – satisfyingly spooky but quick to put together. Because let’s face it, I make a lot of Halloween-themed meals all month long, and I can’t spend hours and hours on each one!

These Spider’s Eggs Brownies were constructed with an easy shopping list and can be made ahead of time. In this case, I brought these brownies to a potluck. They’re really easy to travel with (don’t forget something to cut them!) but you could always make them in a more permanent pan just as easily.

Here’s the shopping list:

1 box brownie mix (plus ingredients listed on box)
1 cup white chocolate chips
1 tube white cookie icing
1/4 cup sugar pearls
1 package Halloween toy spider rings
1 disposable foil cake pan (optional)

(These items should be readily available in your local grocery/big box/dollar store around Halloween, but if they’re not, try the links posted above.)

As you can see from the photos above, I wanted to fill these brownies full of delicious spider eggs! Mixing in those white chocolate chips really helps to highlight this.

Instructions:

  1. Make the brownies according to the instructions on the box.
  2. Mix the white chocolate chips into the batter.
  3. Pour batter into pan of choice and bake according to instructions on the box.
  4. Allow cooked brownies to cool completely.
  5. Draw a spider web on top of cooled brownies with cookie icing.
  6. Before icing dries, sprinkle sugar pearls over the icing so they stick.
  7. Add in a few spider rings by pressing them into the top.
  8. Freak out your friends and coworkers!

I’ve found brownies to be a pretty safe bet for satisfying the greatest amount of people at a party. I do have a tried-and-true homemade brownie recipe, but if I’m in a rush, I mix a few chocolate chips into a box mix.

And, if it’s Halloween, I spookify it.

Share some of your brownie creations with me on Facebook!

Happy Baking!

Lemon Poppy Seed Bread

We’re into summer now but I’m still enjoying this spring treat. And really, who says we can’t eat Lemon Poppy Seed Cake all year anyway?

Of course, I’m a sucker for lemon flavored desserts (hehehe, but no seriously, I am).

That’s why I’ve made things like:

Lemon Cheesecake Bars

Lemon Oatmeal Cookies

Easy Iced Lemon Cake Mix Cookies

and even Lemon Scented Play Dough

However, I recently realized that I’d never actually made my own lemon poppy seed bread or muffins. So I went on a search.

Often I like to play around with food and develop my own recipes, but in this case I found one that I really loved, so the only actual change I made was doubling (okay, maybe it was double-and-a-halving) the icing.

I know the photos look all crumbly, moist, and delicious but, oh my, I wish you could smell it! Yum.

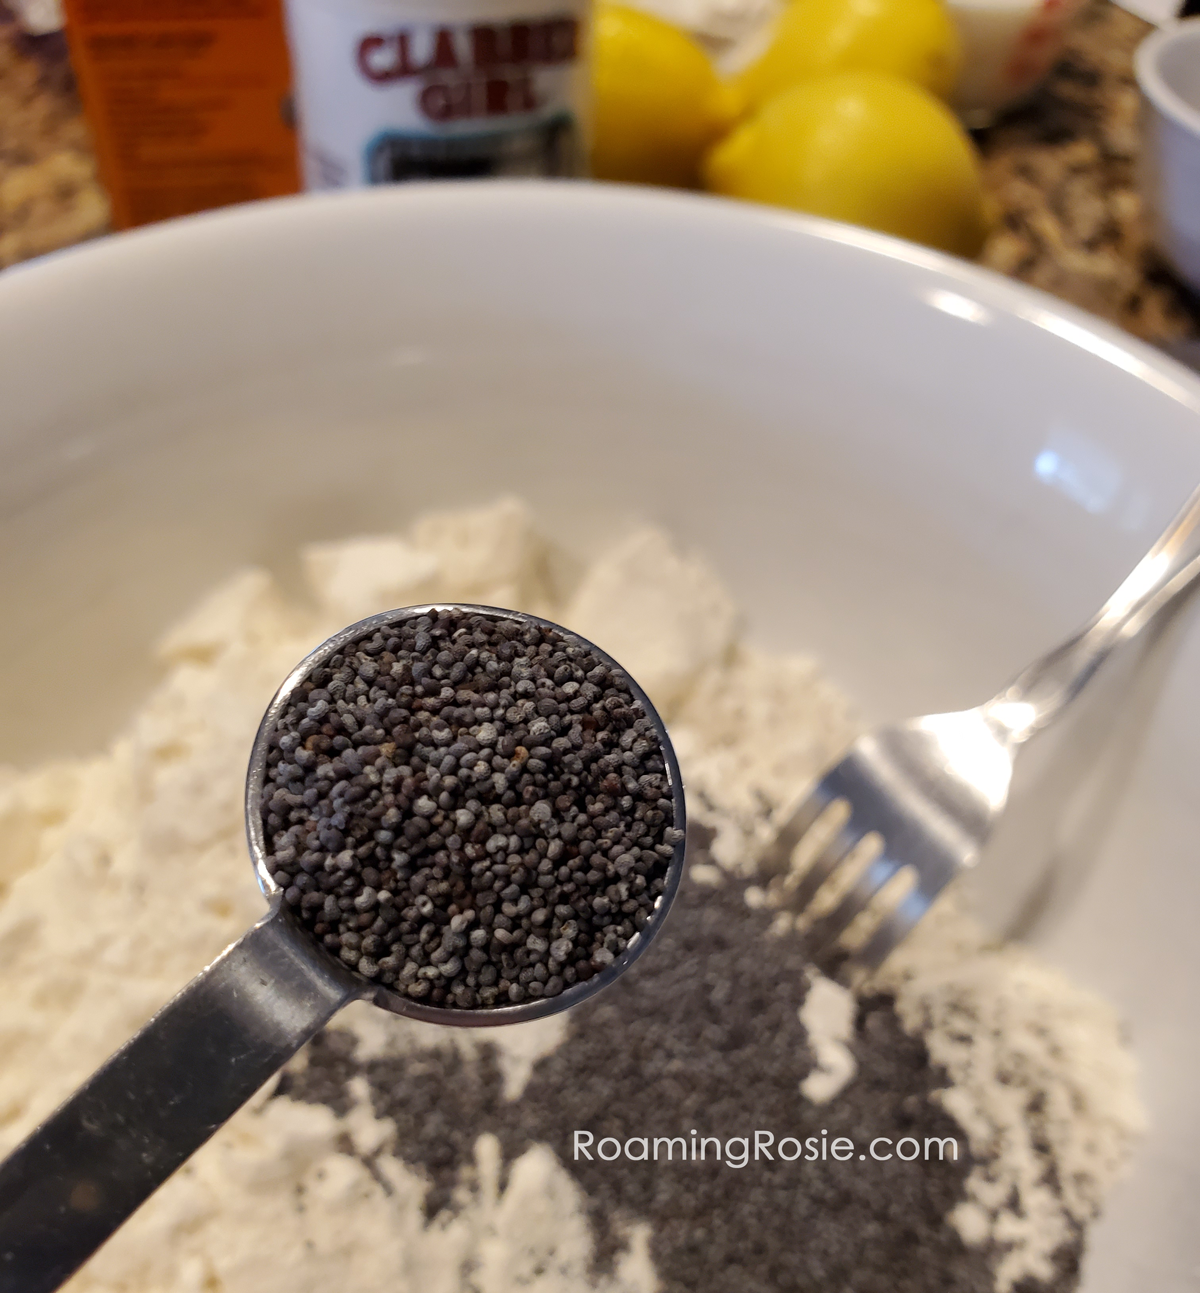
Look at all those incredible ingredients coming together.

*drool commencing*

And then you pull this gorgeous creation out of the oven…

I actually had some waxed paper under that while I drizzled the icing allllll over it. (Just a tip. Much easier to clean.)

Gorgeous, no? Yes.

The recipe is Lemon Poppy Seed Bread from Sally’s Baking Addiction. If you’re a fan of lemon breads and desserts like me, I recommend checking it out!

Okay, can’t stop looking at the pretty bread. One more pic…

If you have any other lemon treats you enjoy and recommend, I’d love to hear about it!

Happy Baking!

The Epic Poop Cake

[Many of these links on this page are affiliate links. If you click on them and purchase something I may earn a commission - thank you! - but it won't change the price you pay.]

Poop . . . CAKE!?

Now, I know that normally the words “poop” and “cake” are not something you see together in the same sentence.

But “funny chocolate cake?”

Yeah.

I could get behind that.

We’ve been celebrating the kids’ birthdays this week and our birthday conversations seem to inevitably circle back to the epic Poop Cake that I made a couple of years ago for my husband’s birthday.

It left quite an impression.

But it was also SO easy to make. And if you follow my blog you know that my favorite type of recipes are the easy ones – that also happen to be delicious.

I’m sharing the process today more than an actual recipe (um, it was totally a box mix). But if you know anyone who is a fan of toilet humor and chocolate, then you’ll definitely want to try this out. It’s pretty much a guaranteed hit.

Here’s what you’ll need:

1 box chocolate cake mix (I like this one)

3 tubs chocolate icing (like these)

1 tube decorating icing (like this)

1 cup milk chocolate chips

1/4 cup mini chocolate chips

Chocolate sprinkles

Plastic toy toilet (we used this wrestling toy toilet)

Candles (optional numbers like this)

Another thing I should mention is that we freely curse in my house. So, yeah, the cake says “crap,” but if you’re uncomfortable with that, you can totally sanitize it for any kiddos around. Or not.

Depending on your normal vocabulary, here are three options:

“Holy Crap, You’re Old!”

“Holy Shit, You’re Old!”

“Holy Poop, You’re Old!” (This one gets the message across to kids but adults still get the underlying double entendre.)

I will warn you: if you jump in and fully commit to making a cake covered in poo, kids will ask why. They’ll want to be in on the joke. For us, this was no issue at all. Crap=Poop and dayum my hubby is old. It’s the big 4-0! Holy shit!

Some of the other gifts and decor mimicked this phrase. I did manage to find this one that managed to match the sentiment of the cake perfectly:

The embroidered toilet paper is from Etsy. (Going for romantic? Try this instead.)

I can’t find this particular poop squishy for sale anymore but here’s a similar one.

I also found poop emoji Easter eggs (the popularity of the poop emoji in recent years helped greatly with decorating!)

The rest of the signs and banners and streamers generally matched the color scheme: black with touches of gold and silver. I kept all of that fairly neutral so the focus would be on the humorous pieces.

Oh and that toy toilet? We didn’t just throw it out afterwards. It was an accessory for wrestling figurines so it happened to fit perfectly in the Barbie house. Dual purpose, yo.

So, how did I put together the cake?

Good question. This playful hunk of deliciousness was a pretty straightforward process. Check out the supplies I listed above. Most should be available in your local grocery store and you’re not making anything from scratch here so it shouldn’t be overwhelming.

And remember – always remember – homemade doesn’t have to look perfect! (Especially if it’s swirls of poo. Just saying.)

Step one: make the cake. Follow the package directions to make two 8-inch rounds of cake and let them cool completely. If they puffed up too much with big round tops, trim them flat. If they’re mostly flat already, just leave them as they are.

I suggest getting 3 tubs of pre-made icing, though you may be able to get by with two. I tend to be a bit paranoid about running out of things mid-cooking while prepping for parties so sometimes I overestimate. Besides, those things are shelf stable.

Here’s one of the fun parts. I forgot to photograph the inside of this cake (or a slice) but there’s an extra layer of chocolatey goodness. I did show pics on my post about the Merida cake I made, so check out those photo examples here. Essentially, place one layer on a plate or cardboard tray, and smear chocolate icing all over it. Then sprinkles those milk chocolate chips over the icing. Then take the other layer of cake, flip it so the flat bottom is now up, and place it on top.

Those chocolate chips inside add extra flavor and texture. I totally recommend it.

Now that you’ve got the basic cake base, spread chocolate icing over the whole thing. Before it sits too long and starts to harden, take handfuls of the chocolate sprinkles and press them into the side of the cake.

Next, scoop some of the icing into a decorating bag or a gallon sized plastic bag with one corner snipped off. Make the poop decorations by swirling the bag as you squeeze out the tiny piles along the top.

I also put one big pile right behind where I placed the number candles.

The final step is the decorations and text. Press the toy toilet into the cake, add the number candles if you’re using them, and write out your message with some decorating icing.

Then dump a handful of miniature chocolate chips into the open toy toilet and voila – a mildly inappropriate but wildly entertaining birthday cake!

Nothing left but to blow out the candles and enjoy.

If you make your own, please share with me! Leave a comment here or post a pic on my Facebook page.

Happy Baking!

New Kittens and a Resolution Not to Overdo It

Well, here we are in 2021.

It’s been quite a journey. Now, I’m not one of those people who’ve been hoping that we’d all wake up on January first and find that all the struggles of 2020 had magically disappeared. Things rarely change in a single day. But I’ve slowly been coming to the realization that I need to change the way I do things. And now is as good a time as any to start.

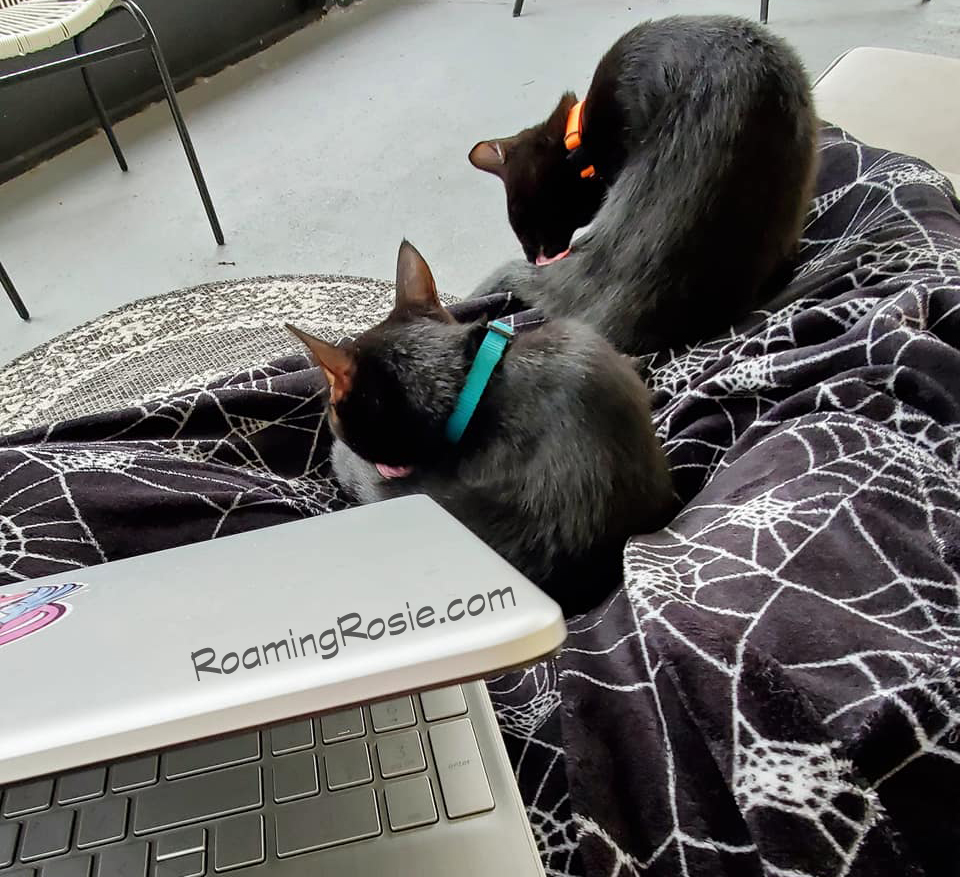
First, as you can see from the photo, we have kittens! Up until about six weeks ago our fur babies consisted of a fluffy doggo, Zari, and one black cat, Luna. On my birthday last month we ventured to the pet store during a gathering of fostered kittens. There were so many. But these two, they caught our attention.

I hadn’t planned to add more black cats specifically to the mix, and certainly hadn’t planned on getting more than one. I had hoped to bring home someone to keep Luna company. But these two were brothers. And so precious. Our daughters took them into their arms and, well, the rest is history.

So allow me to introduce our newest snuggle buddies: Milo and Jinx. And now, our fur babies consist of a fluffy doggo and THREE black cats.

I’ve heard so many foster moms talking about how hard it is to adopt out the black cats. People still hold to the old superstitions. But these babies are like my good luck charms. And we now have three tiny panthers running around the house.

This, in my opinion, is a literal representation of joy.

Plus, as a way to not overwhelm people with an abundance of fur baby photos, I’ve started a new Instagram account. Just lots of furry happiness.

You can see it here: instagram.com/fur_babies_for_days/

I did mention resolutions in the title, did I not? This post, after all, is not simply an excuse to share kitten photos.

Technically I never do New Years resolutions or promises or whatever. But this IS the time of year when I’m packing away the Christmas decorations and it naturally lends itself to a time of cleansing and rejuvenation.

And this happens to be the year that I realized I needed to give myself a break.

You see, awhile back I had decided I needed to just try a little harder in order to accomplish everything that I thought needed to get done. I could do it. Sure. I could work full-time, take care of my kids, go back to school for my master’s degree, plan a wedding, and pack up and move to a new house.

AND I could do it all while getting back to publishing posts on my blog full of projects and recipes and tons of gorgeously staged and perfectly lighted Pinterest-worthy photographs.

Yeah. I convinced myself that was all going to happen.

Just try harder, I thought.

I was, quite frankly, overwhelmed. I had too much on my plate. The blog wasn’t happening at all and the wedding took more work than I expected. I had to take a break from going to school myself once my kids were sent home from school due to the pandemic. House hunting also became complicated with the suddenly changing market.

And then, last fall, I got sick.

Out of the many experiences I’ve had in life, including difficult childbirth and repeated bouts of mono, Covid is by far the worst. People often say “it’s no joke,” and while that on one hand feels like a devastating understatement, it’s also frightfully accurate.

Besides, laughing causes coughing fits.

It’s the end of January and I’ve been in pain every day since the end of October. That’s a great many days of heavy pressure in my chest, a fog stunting my very thoughts, a fatigue so intense it’s crushing. So many nights of lying awake shrunken into a shaking ball struggling to inhale and worrying that if I fell asleep I may not wake again.

Even after the worst of the pain dimmed, and after two trips to the hospital, I was still left with “long Covid” symptoms. So here I am, in a new house without the energy to unpack boxes, my degree still on hold for the foreseeable future, and with my emergency leave depleted so that I’m back at my job where I end each day relieved that I’ve managed not to pass out.

It’s no longer about “trying harder.” There is no hidden reservoir of energy that will suddenly well up if I just will it with positive thoughts. No way to even pretend that I can “do it all.” I can barely do what I need to do to sustain a semblance of regular life most days. And many days, even less.

It’s tough. Which is, yet again, another understatement.

But it’s also given me a great deal of time to sit and think. Is this really what I wanted out of life? Such hectic busyness just to produce some outward appearance of perfection?

Nah.

What makes me happy in life? My kids, my husband, my pets. Reading, writing, being creative. These are the things I need to focus on. Without giving a damn if the accompanying photos are magazine-perfect. I can sit in a chair and read. I can do crafts with my kids. I can play with the fur babies. But it doesn’t all have to be in one afternoon.

It’s time to breathe.

One breath at a time I can do things I enjoy. I can live life slowly and still be valid. I can take my time and still be happy.

The laundry doesn’t need to be folded. Breathe. The spots on the bathroom mirror aren’t bothering anyone. Breathe. There’s nothing wrong with eating on paper plates because the “real” plates are still in the dishwasher. Breathe. A degree isn’t necessary to prove your worth. Breathe. Unpacked boxes in the corner are not the end of the world. Breathe. You are not a bad person for calling out sick from work. Breathe.

Just

B R E A T H E

Smile at your kids. Sit with your family and read a book aloud. Scratch a fur baby behind the ears.

Catch your breath.

It’s time.

Take the time that you have and use it well. And don’t forget that it’s okay to spend it slowly.

One breath at a time.